
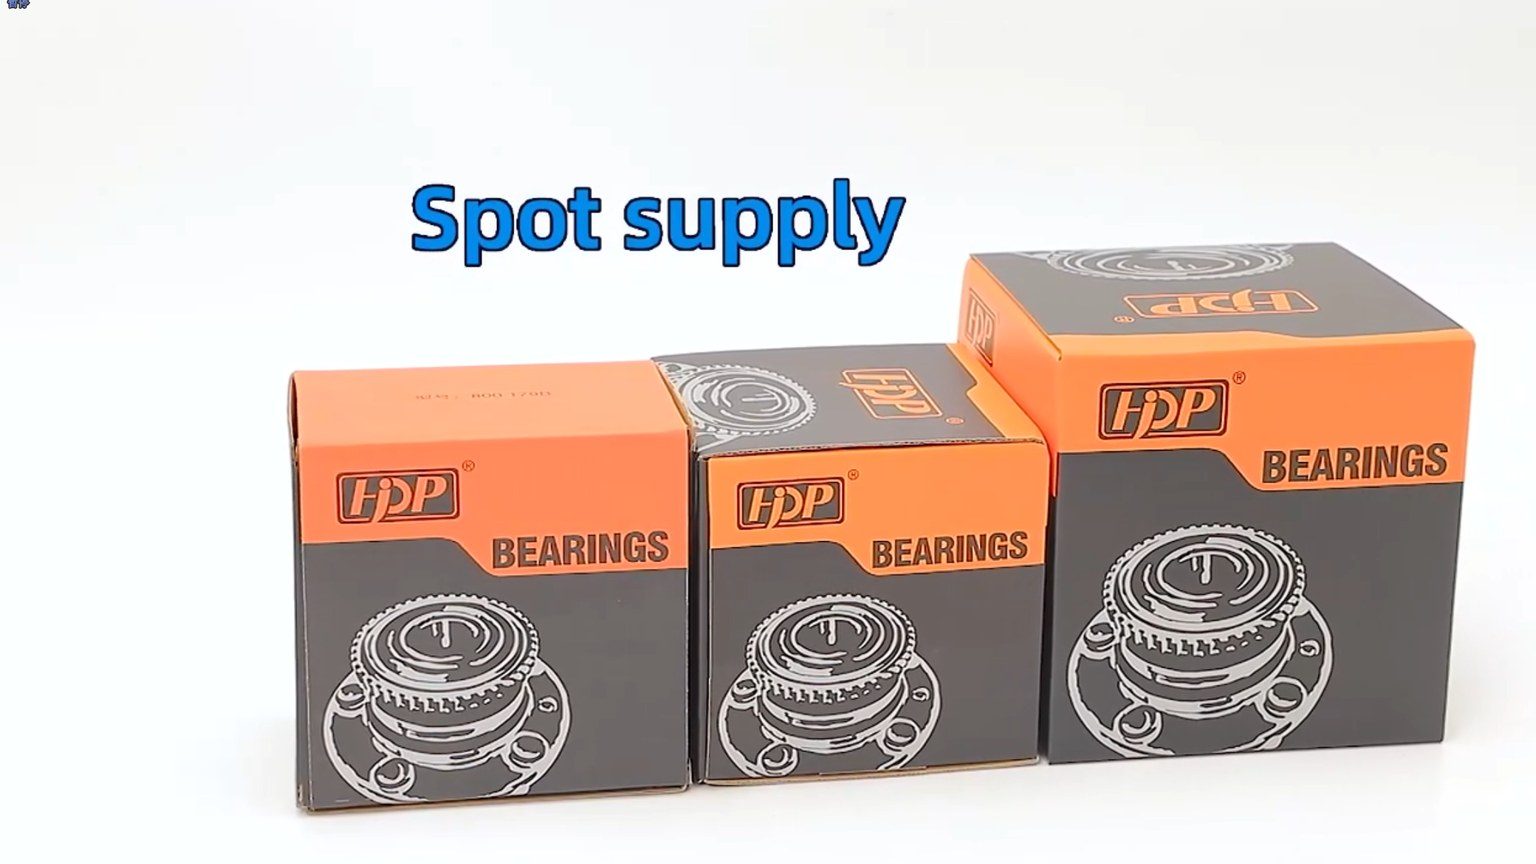
A wheel hub bearing for the HYUNDAI SANTA FÉ II is a sealed, pre-set hub unit that carries the vehicle's weight at one corner, locates the brake disc and wheel, and on ABS cars holds the magnetic encoder ring that the wheel-speed sensor reads. On the second-generation Santa Fé, the CM model line, it should be treated as a position-specific assembly rather than a generic bearing: flange geometry, encoder type, sensor position and seal design differ between front and rear and between drivetrain variants. Every reference discussed here is subject to confirmation by drawing and sample.
This guide is published by Jinan Huayuan Bearing Co., Ltd. at huayuanbearing.com. The company manufactures and exports wheel hub bearings, hub units, tensioners and CV joint components from Jinan, Shandong, for aftermarket replacement and OE-specified programmes, and develops parts to customer drawings and samples.
What Does a Wheel Hub Bearing for the HYUNDAI SANTA FÉ II Do?

A hub unit does three jobs at once: it carries radial load, it carries axial load in both directions, and it fixes the wheel's position relative to the suspension so that brake, steering and alignment geometry stay stable for the life of the part. Noise, ABS function, brake feel and tyre wear all follow from those three duties.
Where the part sits in the corner assembly
The unit sits between the steering knuckle at the front, or the rear carrier, and the hub flange. Its outer ring is bolted or pressed into the knuckle; its inner rings turn with the flange, and the flange carries the brake disc and the wheel. On a third-generation design the flange, the double-row bearing, the seals and the encoder ring form one non-serviceable assembly, which is why the complete unit is replaced rather than re-greased or re-shimmed. If you are still deciding between a bare bearing and a complete unit, the difference in labour and tooling is set out in this comparison of a wheel bearing versus a complete hub assembly.
What loads the front corner actually sees
Vertical kerb weight is only the starting point. Cornering adds lateral force, braking adds a torque reaction through the disc, and on a driven corner the outer CV joint adds drive torque through the splined bore. The front corners of a mid-size SUV therefore work harder than the rear: they steer, they take the larger share of braking load through forward weight transfer, and on all-wheel-drive versions they also transmit power. That is the engineering reason front hub units normally wear out before rear ones, and the reason the two positions are rarely interchangeable even when photographs make them look alike.
Why the ABS encoder side decides whether the job succeeds
The wheel-speed signal comes from a magnetised encoder ring bonded to the seal or to the inner ring, read by a sensor fixed to the knuckle across a small air gap with no contact. Two consequences follow for buyers. First, the encoder must match the sensor type used on that vehicle variant; a multi-pole ring and a simple ring are not interchangeable. Second, the air gap is set by the geometry of the unit itself, so a flange of the wrong height, a seal fitted in the wrong orientation or a ring contaminated with metallic debris can trigger a speed-sensor fault on a hub that turns perfectly by hand.
Which Generation of Hub Unit Fits the Santa Fé II — First, Second or Third?

The generation number describes how much of the corner is built into the bearing, not how good the part is. A first-generation unit is a bearing cartridge; a third-generation unit is a complete hub.
| Generation | What is integrated | Typical bearing type | ABS encoder | Service method |
|---|---|---|---|---|
| First | Bearing cartridge only; hub flange and knuckle are separate parts | Double-row angular contact ball or tapered roller | Separate ring, or none | Press out and press in; flange and knuckle reused |
| Second | Bearing with one integrated flange, bolted to the knuckle | Double-row ball or tapered roller | Ring on the sealed side | Bolt-on, though some designs still press the bearing into the flange |
| Third | Flange, double-row bearing, seals, encoder and mounting bolts as one unit | Double-row angular contact ball | Bonded into the seal or the inner ring | Replace the complete unit; no press required |
For a Santa Fé II order the useful question is not which generation is better but which generation that axle position, market variant and model year actually uses. Two cars from the same model line can differ by market and by ABS option, and aftermarket catalogues sometimes list more than one reference for the same year. Confirmation by drawing and sample is the only reliable check, and it is also the only way to verify the encoder type. Reference listings for Hyundai front corners, such as these front wheel hub assemblies for Hyundai applications, show how many variants one model family can generate.
Why front and rear references differ
A driven front hub carries a splined bore for the outer CV joint stub and a flange sized for the front brake disc; a rear hub on a front-drive car is usually non-driven and simpler, sometimes with the bearing pressed into a drum or disc carrier. Fitting a front reference at the rear, or the reverse, is one of the most frequent fitment errors in aftermarket hub supply, and it usually surfaces as a brake or ABS complaint rather than as an obvious dimensional mismatch.
Two-wheel drive and all-wheel drive change the front hub
Drivetrain layout affects the front corner more than the rear. A driven front hub must accept the CV stub, retain it with the correct nut and washer, and seal the joint face; a non-driven front hub can use a plain flange with a sealed cap. Because the Santa Fé II was sold in both front-drive and all-wheel-drive forms depending on market, drivetrain belongs in the enquiry rather than in the assumptions. A bolt-on front hub assembly reference for the same Hyundai family illustrates the level of detail a comparison should reach.
How Is a Hub Unit Built — Steel, Heat Treatment, Clearance and Sealing?
Four things decide hub unit life, and all four can be written into a purchase specification and measured: steel grade, heat treatment, internal clearance or preload, and the sealing and grease package.
Bearing steel and heat treatment
Races and rolling elements are normally made from through-hardening bearing steel of the 100Cr6 or GCr15 type. Rings may be induction-hardened or case-hardened so that a tough core supports a hard rolling surface; either way the drawing should state a hardness range, a case depth where relevant and a tempering or dimensional-stability treatment after hardening. Naming a steel grade is not the same as controlling heat treatment: a hub that is hard but under-tempered holds its geometry when new and loses it after repeated brake heat cycles. Flanges are a separate material decision, usually forged or rolled medium-carbon steel, because the flange resists bending fatigue and brake torque rather than rolling contact. On a sample, check flange face flatness, pilot diameter finish and bolt-hole condition, not only the bearing.
Rolling element type and raceway geometry
Passenger-car third-generation hub units almost always use double-row angular contact ball bearings, arranged back-to-back or face-to-face so that they take thrust in both directions with a set preload. Tapered roller bearings appear where duty is heavier: larger SUVs, light commercial vehicles and some rear positions, where a defined preload or end-float is set at assembly. Cylindrical roller bearings suit heavy commercial applications where radial capacity dominates and thrust is carried elsewhere. The type cannot be changed for convenience, because moving from ball to tapered roller changes axial stiffness, running temperature and the seal package, and therefore the behaviour of the brake and the speed signal.
Clearance, preload and precision grade
Passenger-car hub units are supplied pre-set, not adjustable in service. The quantities that can be measured are axial clearance or preload force, starting torque, flange runout, and the bore and pilot diameters. Where a precision grade is quoted it is usually an ISO 492 class, normal, P6 or P5, or the equivalent ABEC class, and it describes the dimensional and running accuracy of the bearing rather than the finish of the complete assembly.
| Drawing field | Why it decides fit | How it is verified |
|---|---|---|
| Bearing envelope: outer diameter and width | Sets the press fit in the knuckle; wrong size means bore damage or a loose unit | Micrometer across the outer ring at several points |
| Flange pilot diameter and bolt pattern | Centres the disc and wheel; a wrong pattern means the wheel cannot seat | Calliper measurement plus a test fit with the disc |
| Flange face runout | Drives disc runout, pedal pulsation and disc thickness variation | Dial indicator on the mounted face |
| Spline bore on driven hubs | Must match the CV stub tooth count and form | Test fit with a sample joint |
| Encoder type and position | Determines whether the ABS sensor reads a signal at all | Visual comparison with the original plus a bench sensor check |
| Seal lip and orientation | Controls water and grit ingress, the first cause of hub failure | Visual check on both faces before fitting |
| Axial clearance or preload | Sets bearing life and noise level | Bench measurement at the stated load |
| Mounting bolt thread and grade | Sets the torque the joint can take | Thread gauge, plus material documentation on request |
A drawing that omits these fields cannot be used to approve a sample, and a sample that cannot be approved cannot support a repeat order.
Seals, grease and the encoder ring
Sealing is where aftermarket units differ most from OE parts of identical dimensions. A serviceable design uses a multi-lip cassette seal: an outer lip excludes water and grit, an inner lip retains grease, and a dust lip protects the first two. On ABS hubs the encoder is often bonded into the seal, so a cheaper seal compound usually means a cheaper encoder as well. Grease is normally a lithium-complex or polyurea type chosen for the operating temperature of the corner; mixing grease families or over-filling raises running temperature and shortens life, which is why hub units are filled at assembly and not topped up in service.
What Are the Common Failure Modes, and How Do You Recognise Them?
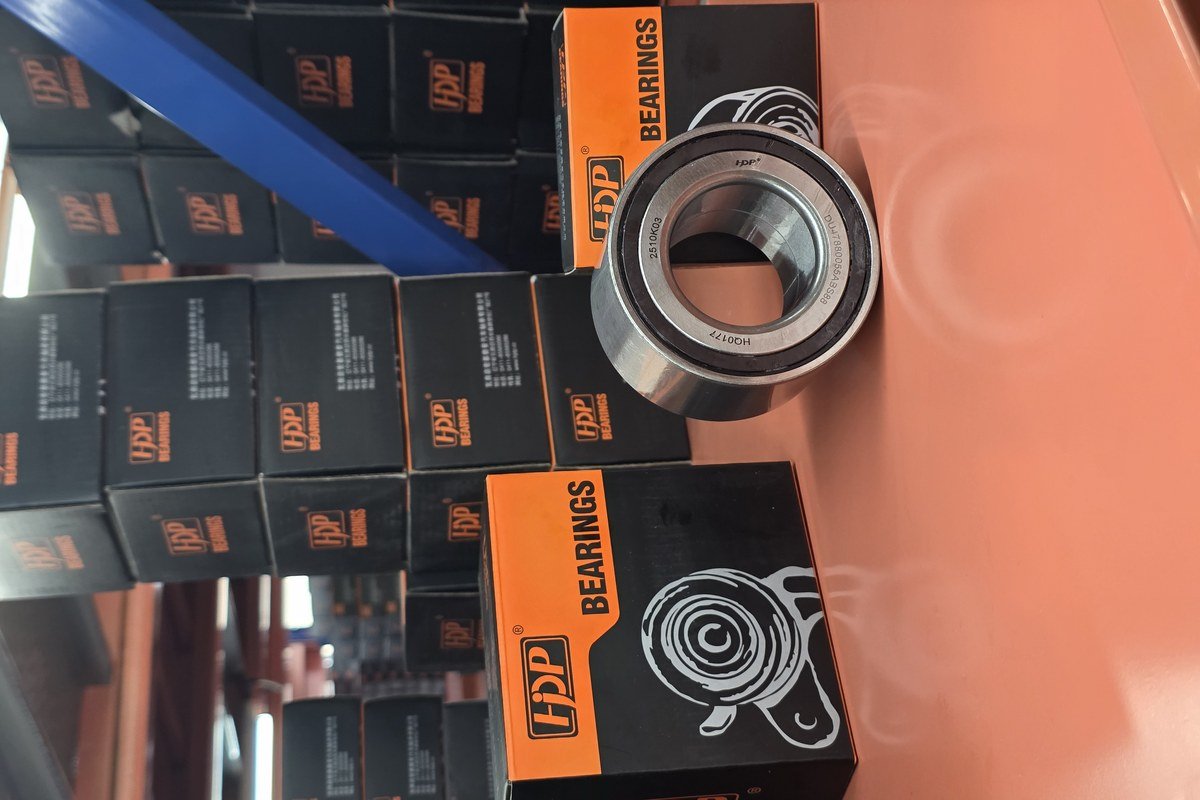
Most hub unit failures begin at the seal and end at the raceway. Reading that sequence correctly tells a buyer whether a returned part failed in service or was damaged before it was ever fitted.
- Water and grit ingress. The seal lip wears or the cassette deforms, grease emulsifies, and the raceway shows dark staining with fine pitting rather than large flaking.
- False brinelling. Flat marks at rolling element spacing, caused by long storage or long standing with vibration; often mistaken for a manufacturing defect but usually a logistics issue.
- Raceway spalling and fatigue. Grey, dull flaking with sharp edges, normally following contamination, insufficient preload or overload.
- Impact damage. Brinelling from kerb strikes and potholes, or from pressing the unit in by the inner ring instead of the outer ring.
- Worn splines or damaged threads. Almost always installation-related rather than a bearing fault.
- Encoder ring damage. A cracked or contaminated magnetic ring produces an ABS light and a speed code with no mechanical noise at all.
A failing front hub on a vehicle of this class usually produces a speed-dependent hum or growl that changes pitch with road speed and shifts when steering load moves from side to side; play at the 12 and 6 o'clock positions with the wheel raised; dished or uneven tyre wear; and, on ABS cars, a wheel-speed code on one corner. A grind that appears only while braking and stops when the pedal is released is more often a brake or dust-shield problem. Working through symptoms in that order avoids replacing hubs for a tyre or caliper fault, and a longer symptom list is in this guide to how to tell a wheel hub bearing is failing.
How Do You Read the Drawing and Confirm the Reference Before Ordering?
Confirming a Santa Fé II hub unit is a document exercise before it becomes a commercial one. The sequence below keeps a sample order from turning into a wrong-part shipment.
- Identify the vehicle first: model line, model year, market, drivetrain, ABS or stability-control option, and front or rear position.
- Record every marking on the original part: casting or forging marks, the bearing maker's number, flange stamping and the OE reference from the parts system.
- Map the references onto a drawing: outer diameter, width, flange pilot, bolt pattern, offset, spline form, encoder type and bolt threads. Note anything the drawing does not show.
- Ask for the encoder specification separately: type, pole count, mounting position and air gap.
- Check the seal design and the grease specification, including temperature class.
- Order the sample with the drawing revision identified on the label, so the physical part and the approved paper part can be compared later.
- Measure the sample against the drawing on receipt, before anything is fitted to a vehicle.
- Keep the approved sample and its measurement report as the reference for future batches.
OE references and aftermarket numbers are a starting point, not a proof: a reference can be superseded, and catalogues occasionally map one number to more than one flange design. The encoder and air-gap question in particular is answered only by the drawing, as this note on OE number fitment and ABS encoder matching explains. Before the enquiry goes out, the fields in a hub bearing RFQ checklist are worth completing in full, because dimensions that are never asked for are usually never supplied. Paired front hub assembly kits for Hyundai applications are a useful illustration of how a single reference can cover two corners.
How Should the Unit Be Installed, and What Should Incoming Inspection Cover?
Installation decides whether a correct part reaches its expected life, and incoming inspection decides whether the correct part is what actually arrived.
Installation points that decide hub life
- Clean the knuckle bore; burrs and old thread-locking compound cause misalignment before the bolts are even tightened.
- Never press or strike the inner ring or the encoder side; force is applied through the outer ring or the flange.
- Use a draw tool on the flange and the correct driver on the outer ring, and confirm the unit seats fully and squarely.
- Torque the mounting bolts to the figure in the vehicle manufacturer's service manual, with a calibrated wrench.
- Fit a new axle nut where the design uses one; do not re-use a staked or crushed nut.
- Check disc runout after assembly; if it exceeds the manual figure, look for a burr trapped between disc and flange.
- Keep the sensor lead out of the way during fitting and keep magnetic debris away from the encoder ring.
- Road test for noise and confirm no ABS code appears on the first drive cycle.
Incoming inspection: what to check on arrival
Incoming inspection is not a second quality-control department; it is confirmation that the shipment matches the approved sample.
- Labelling: part number, drawing revision and batch identification on the box and on the part.
- Visual condition: seal lip, encoder ring, flange face and thread condition, plus rust-preventive coverage after transport.
- Dimensional spot check: three to five pieces per batch against the drawing fields listed above.
- Bench check of axial clearance or starting torque on the same sample pieces.
- Documentation: material and heat-treatment records for the batch, traceable to the parts inspected.
A supplier that answers these questions consistently, batch after batch, is a lower risk than one that answers them only for the first order; the criteria are set out in this guide to evaluating a wheel bearing and hub assembly supplier.
Frequently Asked Questions
Is the front wheel hub bearing for the HYUNDAI SANTA FÉ II the same as the rear?
No. Front and rear positions normally differ in flange geometry, load direction and encoder fitment, and a driven front corner also has a splined bore for the outer CV joint. Front units carry steering and the larger share of braking load, which the rear does not. Treat them as two separate references and confirm each against its own drawing and sample.
Can a third-generation hub unit be re-greased or rebuilt?
Generally not. A third-generation unit is assembled with a set preload, sealed for life and, on ABS versions, carries a bonded encoder ring. Opening it destroys the preload setting and usually the seal as well. The correct service action is replacement as a complete unit, with the knuckle bore cleaned and the mounting bolts torqued to the vehicle manufacturer's figure.
What causes an ABS light straight after fitting a new hub?
The usual causes are an encoder type that does not match the sensor, a seal fitted with the encoder on the wrong side, metallic debris on the magnetic ring, or a sensor lead damaged during installation. A hub can spin smoothly by hand and still set a code. Compare the encoder with the original sample, clear the code and re-read the live wheel-speed signal.
How do I confirm the correct part when no OE number is available?
Start from the vehicle: model line, year, market, drivetrain, ABS option and axle position. Then match every marking on the original part to a drawing and measure the sample against it. Where the reference cannot be established from the vehicle alone, confirmation by drawing and sample is the only reliable route, and that confirmation should be recorded before the order is placed.
Purchasing guidance, product information and company updates from Huayuan Bearing.